Inspired by other grand projects I’ve seen, my goal
is to ultimately have most, if not all, documented Elefant of Schwere
Panzerjager Abteilung 653 represented in model form. There are several good references out there
which are included in the Bibliography below.
I’ll start with a review of the basic Elefant miniature from Battlefront
and then go from there.
The good: Overall
the shape and scale of the vehicle is good and the detailing is fairly
accurate. Assembly is very straight
forward, and the miniature is sturdy – which is a big plus for something that’s
hopefully going to see a fair amount of use.
Parts breakdown makes sense – two track units, hatches, and the gun.
The not as good:
Tail light, jack, jack box, and tool box missing from the rear of the
vehicle. No spare track links provided
(though these were common stowage items – you could probably get away with using
Panther tracks, but you’ll have to change the guide teeth). One of the gun sight slit hatches is missing
from the superstructure roof. The left
and right engine vents are too wide and approach the center vent too closely –
side vents are also larger than the central vent when in actuality the reverse
was true.
The inconvenient:
Obviously since this was a rare bird, there’s only one miniature to go
with, so you have to do a fair amount of conversion to get the breadth of the
vehicles actually fielded. The molded in
tow cable is on one side only (there are ample examples of vehicles with one,
two, or none).
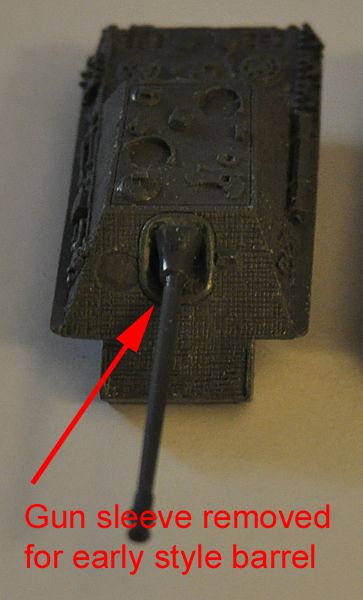
Accurizing
Some of the issues with the stock miniature are
relatively simple to fix. I’ve built-up
a jack box and cast resin copies of it.
You can take a jack out of the Panther box and add it to the rear
superstructure. Adding a rear light is
also fairly easy – just build up one from styrene strip. I’ve also added the extra hatch on the top
with styrene sheet and strip. I don’t
bother with the surgery on the engine hatches at this point (and probably won’t
ever). Adding the tool box to the rear
is also fairly simple – just use a thick piece of strip styrene cut to the
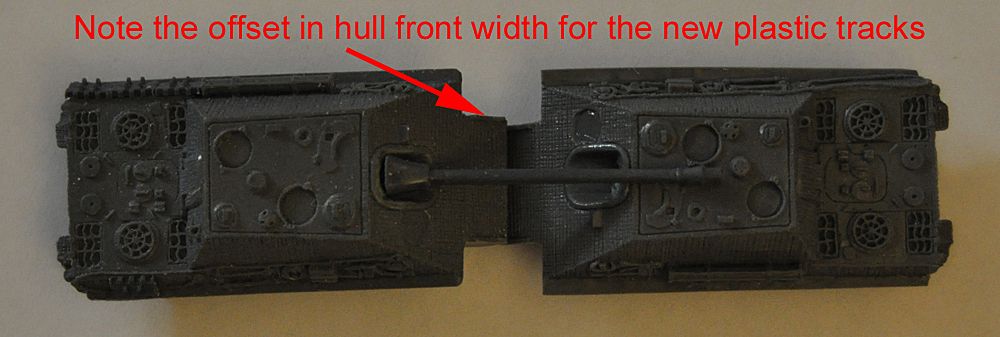
right dimensions and add zimmerit with green putty. I also add a small strip of styrene to
connect the front and rear fenders a bit better than you get with simply
attaching the track units to the hull.
Out of the box
The miniature as packaged will build up several vehicles
without major modification. These
include:
·
East Front:
o Vehicles
223 and 224 (red, white outline)
o Vehicle
232 (red, white outline)
o Vehicle
234 (red, white outline – it’s possible the Munch book misidentifies vehicle
234 as vehicle 334, as the first digit is missing and the contrast of the
center of the number is low like the number is red, not black)
o Vehicle
322 (solid black)
o Vehicle
301 (number unclear in photos)
o Vehicle
323 (black, white outline(?))
o Vehicle
331 (black, white outline)
o Vehicle
332 (black, white outline)
o Vehicle
334 (solid black – or black with white outline – two primary references
contradict)
o Most
other vehicles used by 653 on the Eastern Front (no number in many photographs)
o One
of the two survivors which fought in Berlin as a part of s.Pz.Jg. Kompanie 614.
(no number) – note four were assigned to sPzJg Kompanie 614., but only two
actually made it into the fighting in Berlin.
·
Italy:
o At
least one 1st Company Elefant (with no number visible)
o It’s
also “close enough” to model Elefant 124 of the 1st company (though
this particular vehicle had horizontal zimmerit around the closed vision
ports).
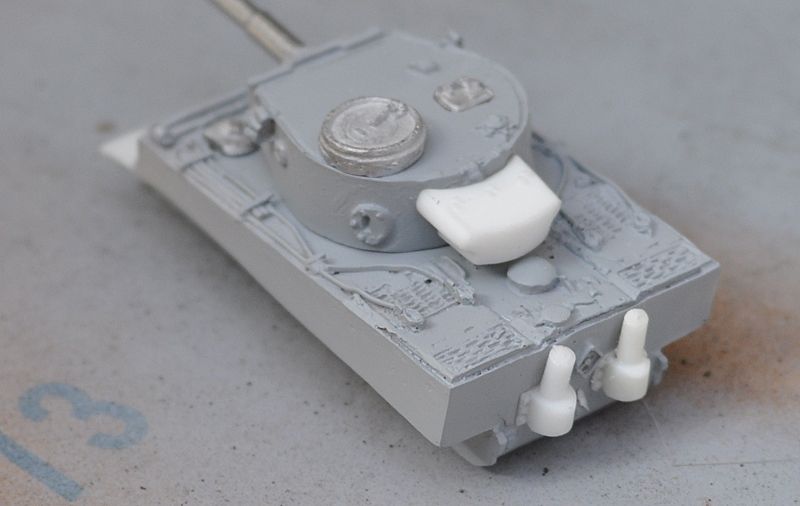
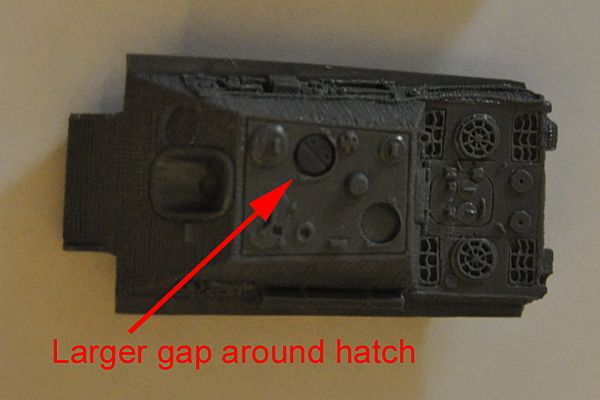
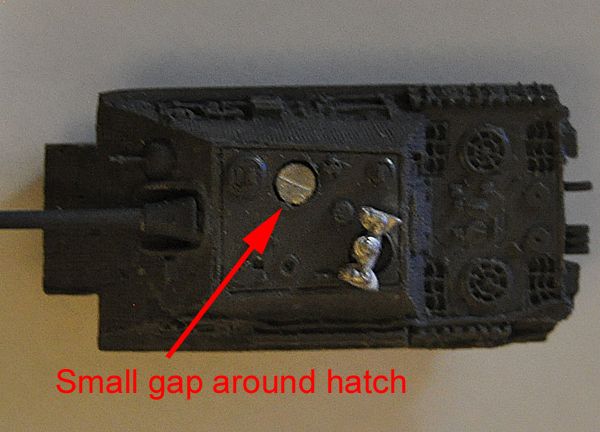
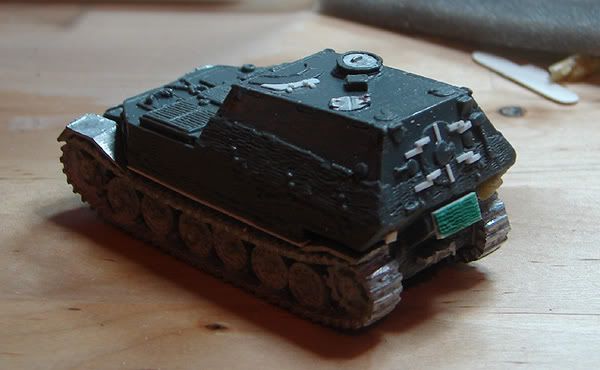
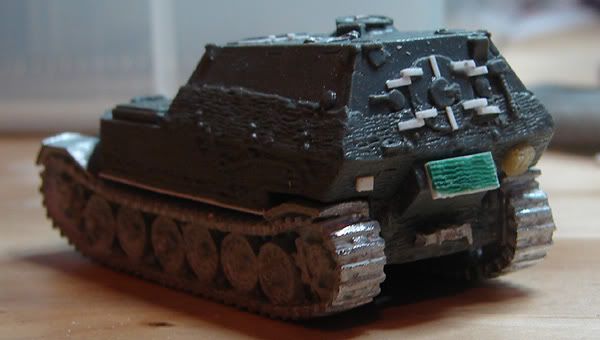
Minor Surgery
Toward the end of the conversion run, four vehicles were
fitted with a modified rear hatch consisting of two leaves as opposed to the
single large hatch. It’s a fairly simple
matter to add some styrene hinges and overlap to the rear hatch of the
miniature. At least one of these served
in the HQ Company of 653. Schwere Panzerjager Abteilung (no number).
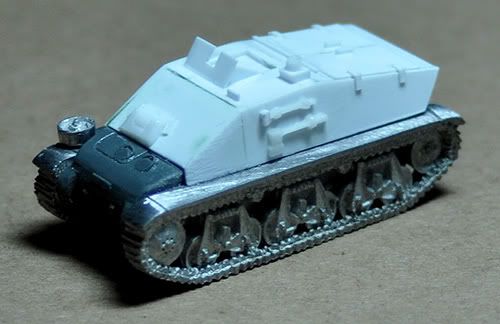
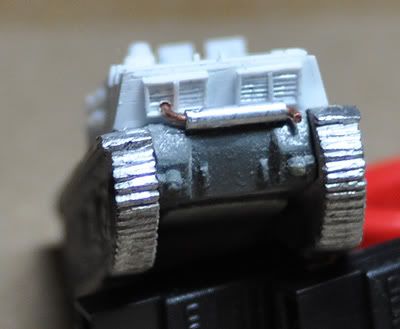
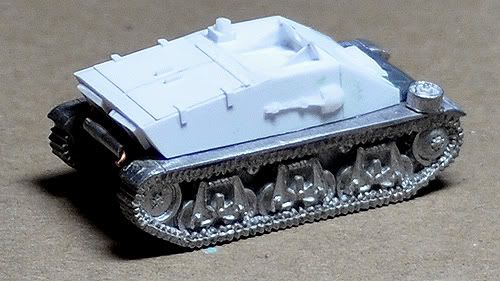
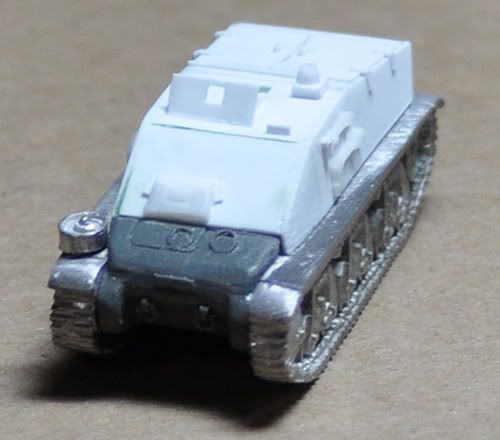
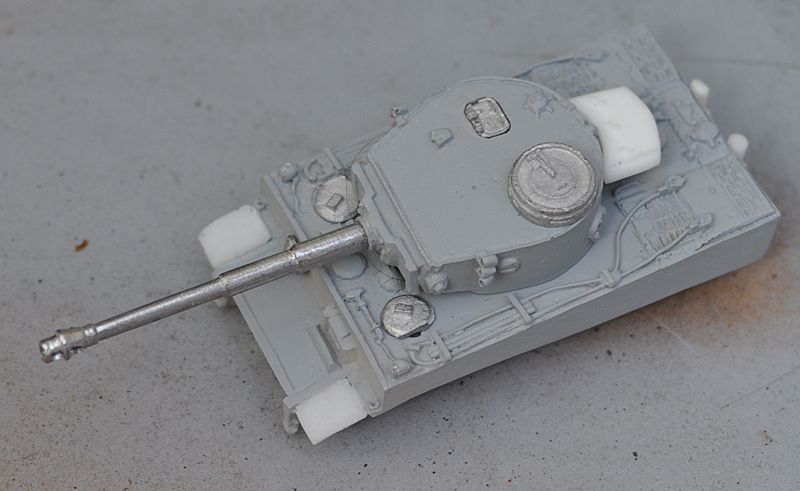
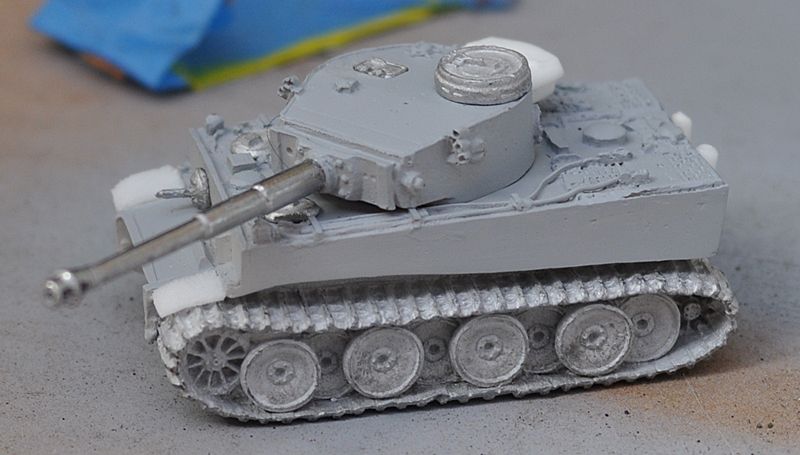
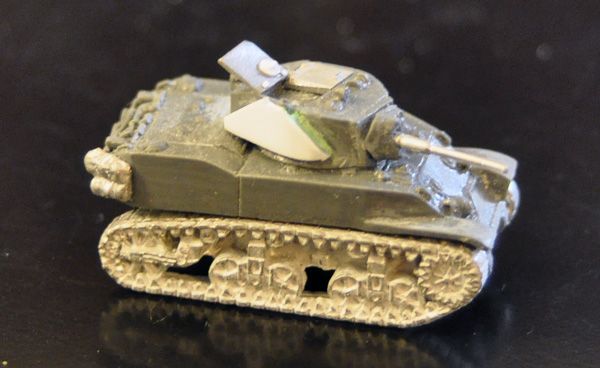
The pictures below show the first build-up of one of
these vehicles. Note that I’ve already
added details discussed above. The split
hatch is accomplished through cutting and shaping strip styrene. I find a tool called “The Chopper” to be
invaluable for this sort of work.
Part 2 will cover the Elefant that require more work and
markings for the unit.