The online Team Yankee Firestorm
campaign is currently in full swing. I'm serving as one of the liaisons for Warsaw Pact forces, and based on the experience so far I can tell you if you haven't done one of these before, you really don't know what you're missing. The campaign is easy to join, and intuitive to report battles - all you really have to do is play some games. Once you sign up you'll get access to your faction's command room (Warsaw Pact, U.S., British, or West German), and there should be plenty of good advice there to help you make your way around the site.
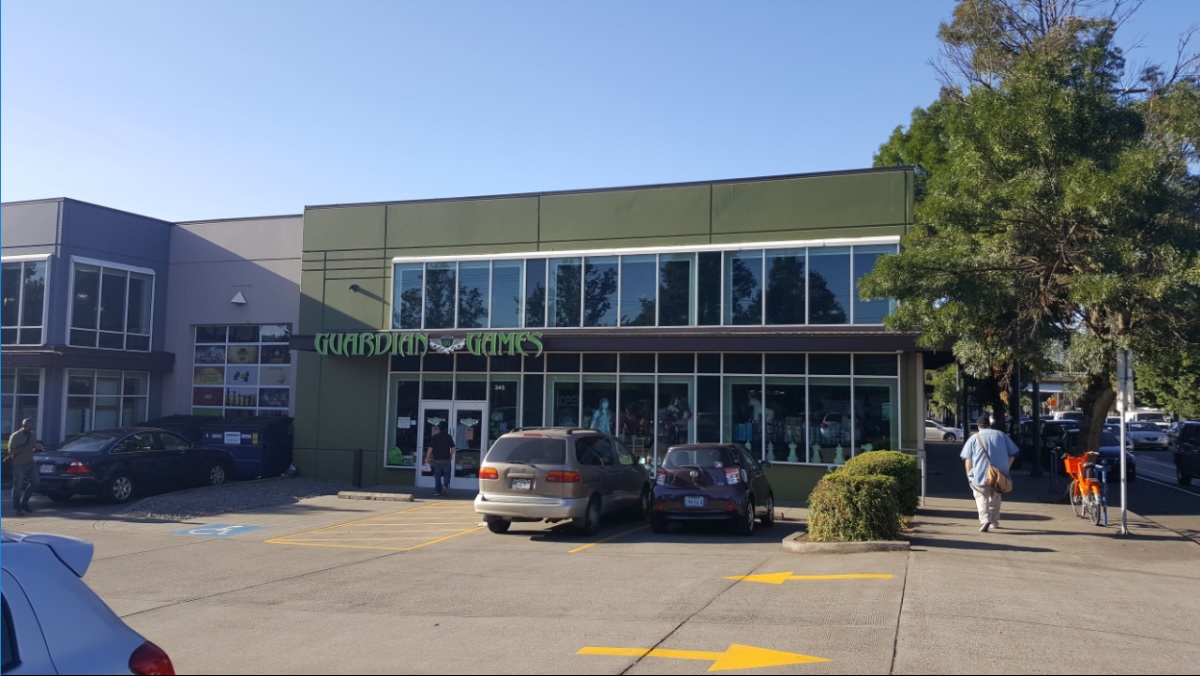
What follows is a report from a game I got in this week at my favorite local gaming store,
Guardian Games. I feel very lucky to have a store of this caliber in my local area, especially with all of the struggles many local stores have experienced.
 |
| Guardian Games - your mecca for all things Geek in Portland, OR! |
As I'm still painting up my East Germans, a friend of mine from the Ordo group kindly brought out some of his miniatures so we could get a few games in. He also invited a couple of new players and they fought as a group in this game. It was great to meet some new people and hopefully get them sucked in to the miniatures wargaming hobby!
What follows is the battle report - which can also be
accessed at the Firestorm site (you may have to sign up to view it there), though it doesn't have the preamble and the forces themselves are in a separate PDF.
We ended up playing Free for All because we wanted to start with something basic as we taught the new players. We played roughly 60 points, and the game ended up in a 5-2 victory for the Soviets. For the after action report, I took a few pictures and decided to go with a more narrative style - I think I'll stick with it going forward
U.S. Force
M1 Abrams Armored Combat Team – 2x Abrams (16 points)
M1 Abrams Tank Platoon – 3x Abrams (24 points)
M1 Abrams Tank Platoon – 3x Abrams (16 points)
M163 VADS AA Platoon – 2x M163 (3 points)
M901 ITV Anti-Tank Platoon – 2x M901(3 points)
Total: 62 points
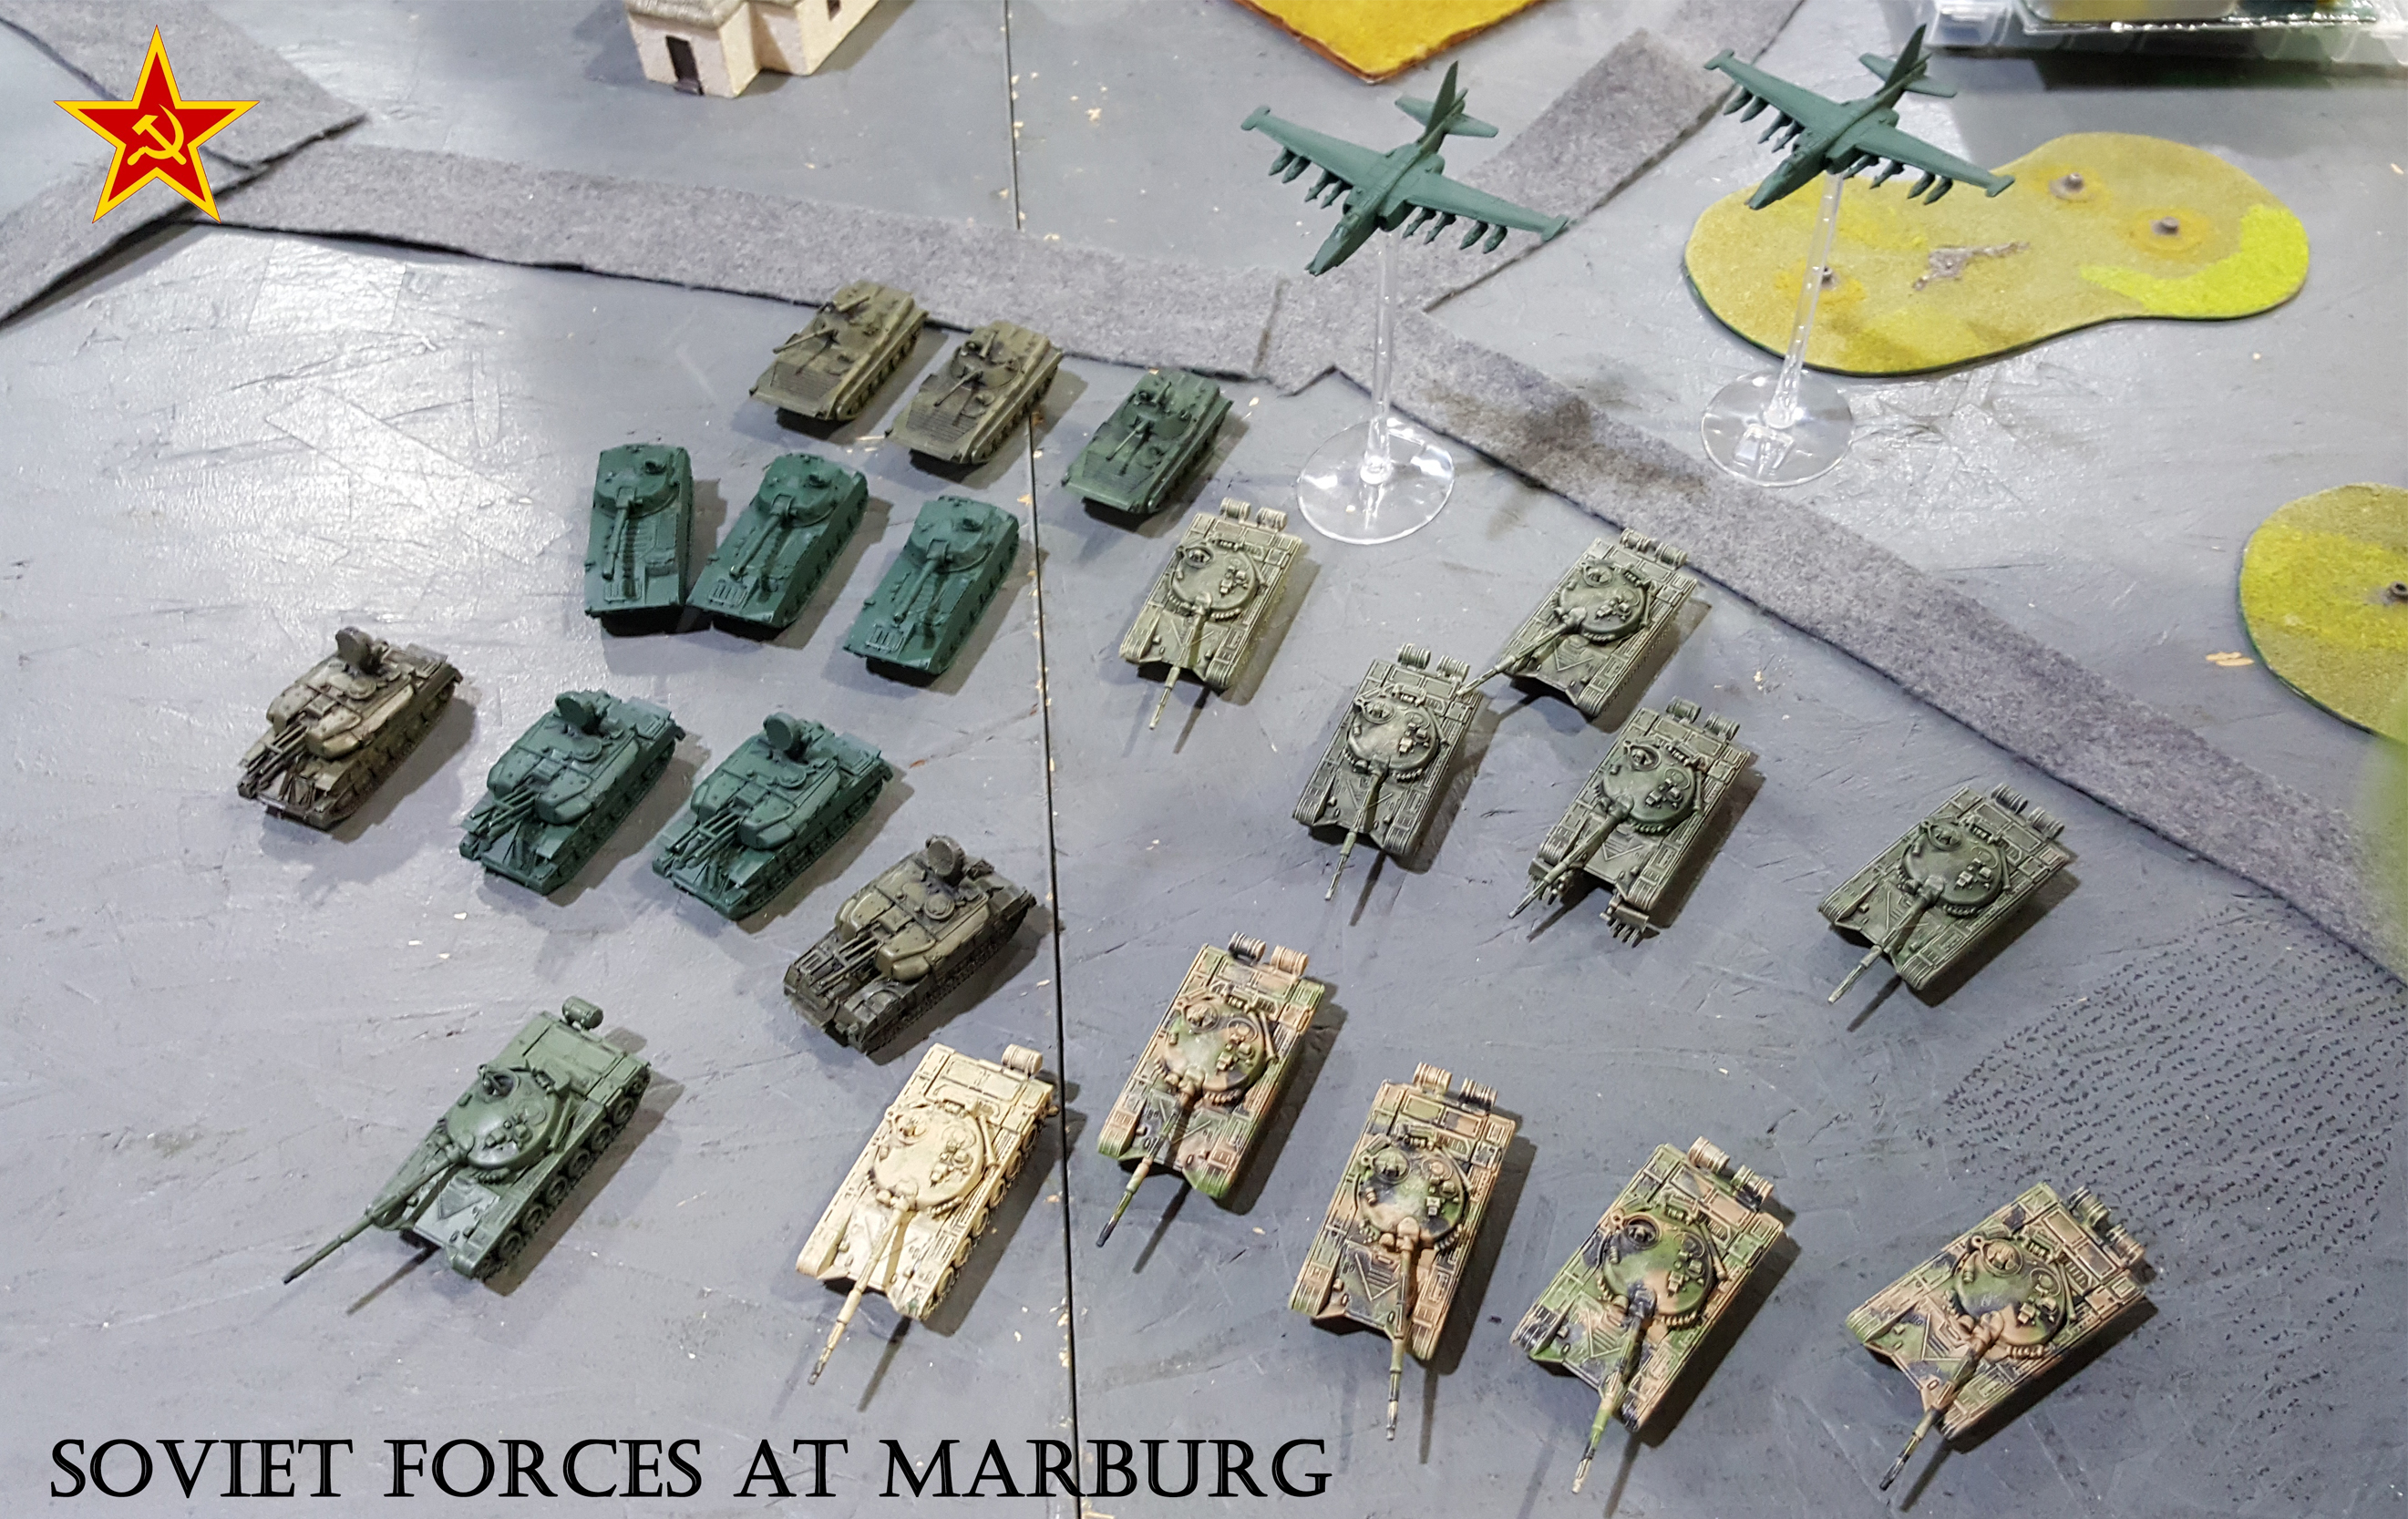
Soviet Force:
T-72 Tank Battalion – 1x T-72 (5 points)
T-72 Tank Company – 5x T-72 with on mine clearing device (23 points)
T-72 Tank Company – 5x T-72 with on mine clearing device (23 points)
BMP-2 Recon Battalion – 2x BMP-2 (3 points)
2S1 Carnation SP Howitzer Battery – 3x 2S1 Carnation (5 points)
BMP-1 Observation Post – 1x BMP-1 OP (1 point)
Total: 60 points
Major Mikhail Tupolev’s personal journal
Sunday, 4 August 1985
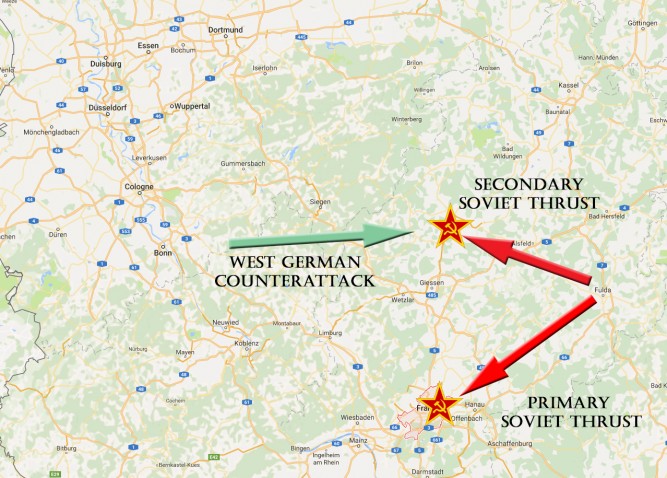
The drive toward Hanover has gone far better than expected. We are north of the city across the Aller near a town called Kröpke if I’m reading the signs correctly – and they haven’t been changed to confuse our advance. I’ve moved forward with a small advanced force to try and secure an interchange allowing better access for the main force to follow, but I fear I’m still north of a good interchange – fortunately the Red Army doesn’t have to obey traffic laws! Unfortunately, I’ve had to leave my anti-aircraft assets behind to protect the main body as NATO airpower has been a far greater thorn in our side than we were led to believe. The Air Force promised they’d clear the skies of enemy aircraft, but that hasn’t happened. I’ll likely be unable to call on our own air support either. We’ll move forward again in the morning and secure the Autobahn.
Monday 5 August 1985
Our reconnaissance team has identified a small American force heading this way. I can’t let them delay our advance to the interchange. I immediately order the battlegroup into action. The
Gvozdika battery can shield our armor against enemy light vehicles, while the T-72’s will take care of any American armor.
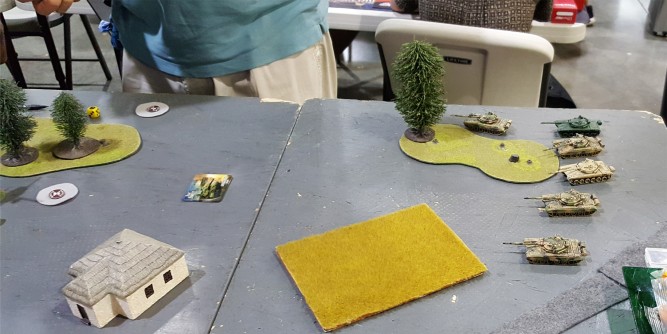
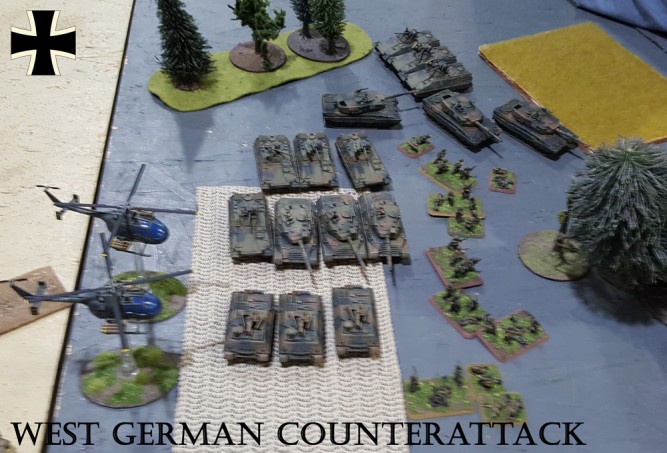
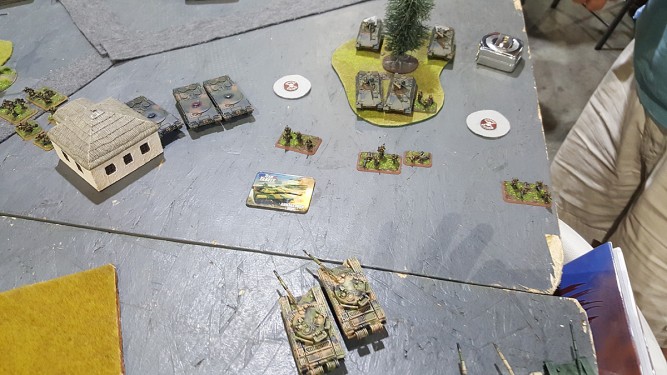
As we make contact I see several of the new American M1 tanks, but they have also brought their anti-aircraft support – they may not have air assets. They appear to have TOW equipped M113 IFVs in a small stand of trees. Cover is sparse in this agricultural area. I deploy my armor to the flanks while the
Gvozdika battery holds the center, unfortunately it will take them some time to get in firing position, and I can’t simply wait and let the Yankees dictate the pace of the battle.
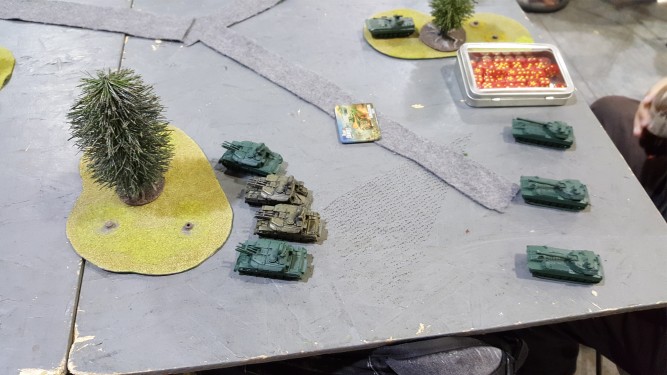
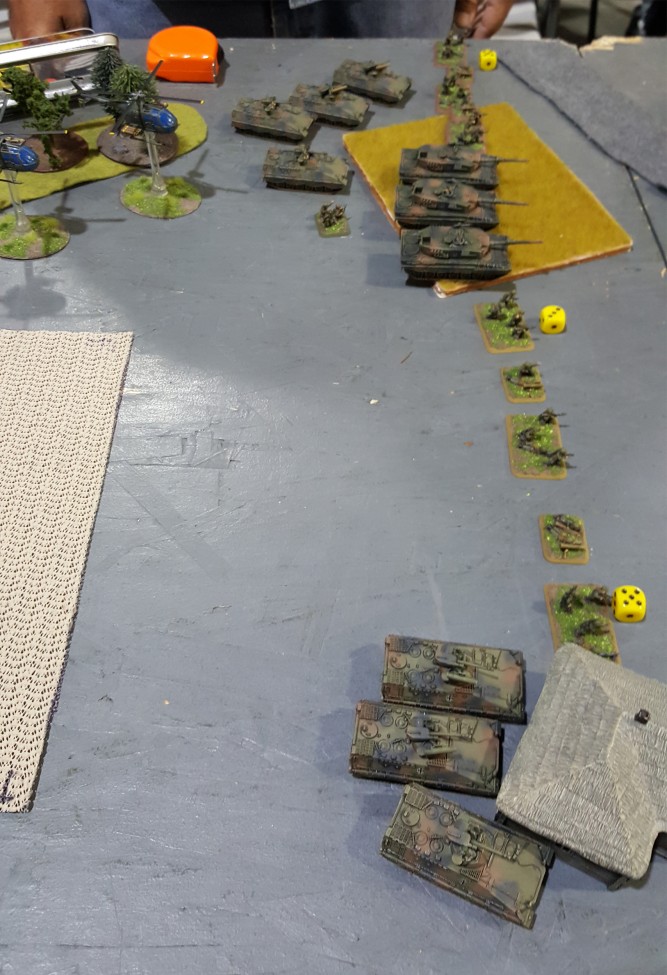
My second company of T-72s advances, but all can’t reach cover. Two fire at a unit of three Abrams tanks, and score hits but do no damage. The company nearest me fares better destroying an Abrams and causing two more to panic. One of the BMP-2 scouts closes with the TOW launchers firing his cannon, but fails to destroy either of them.
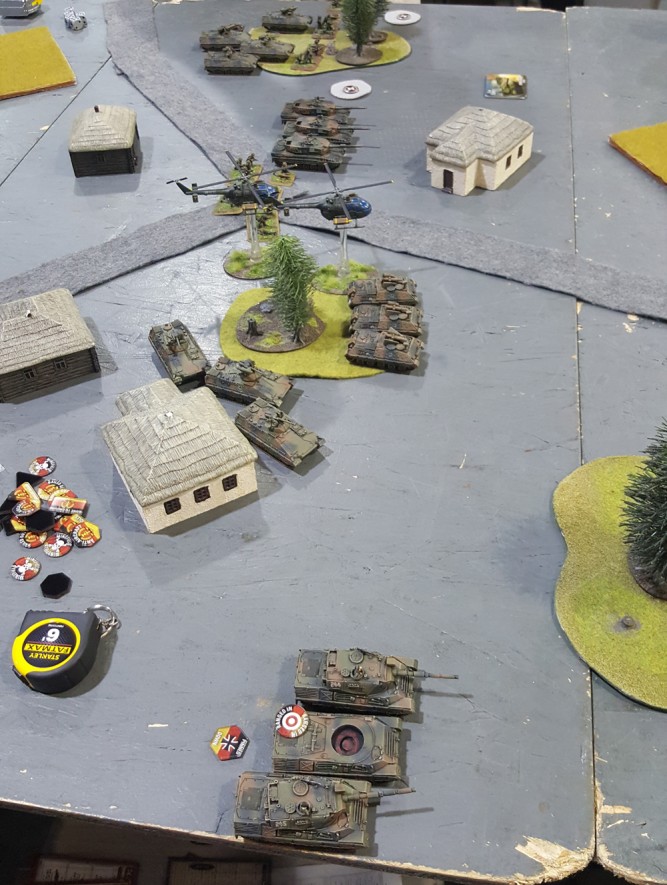
The Americans return fire destroys one of the BMP-2 scouts, but the remaining reconnaissance team continues to work its way around a small stand of trees to outflank the Americans. TOW missile fire ultimately destroys my observer, complicating matters for the
Gvozdika battery, but a couple of them still have good fields of view, and if all else fails they can fire directly. The American commander seems concerned with the batter and moves his anti-aircraft and TOW assets in that direction – perhaps he wants flanking shots on my first T-72 company?
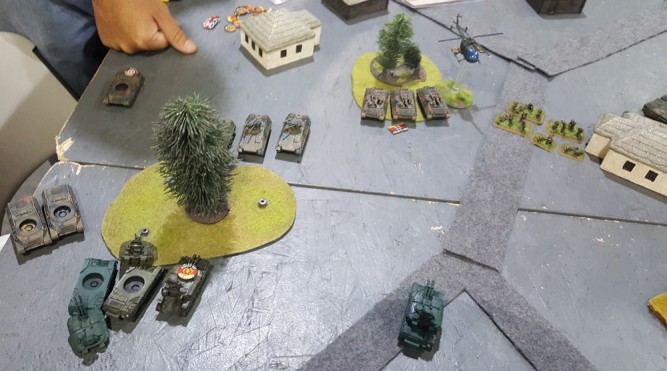
I order the second company to stop its advance – there are a couple of tanks which can try and keep the American armor pinned down while I advance along the other flank. First company manages to take out the remaining American tank on this flank and decimate the TOW battery as well. The BMP-2 scout reports that he has pushed forward and is entering what appears to be a command and control area. I order him to hold and defend the area. Second company continues to trade fire with the Abrams, but now they are reacting to the threat of first company as well. A couple of crews bail out of their T-72 tanks, but another Abrams is smoking on the horizon.

Sensing the threat to his command post, the Yankee commander moves his anti-aircraft vehicles in range of the BMP-2 scout, destroying it in a withering crossfire. However, by this point it is too little, too late, only two of the American tanks remain, and are facing eleven T-72’s – I order all armor forward and the remaining Yankee armor is quickly decimated allowing us to secure the area.
These American tanks are much better than their older models, though they are still using the old British gun. Intelligence gained from the 1973 War in the Middle East taught us that American armor would be no match for our advanced guns and ammunition, but these tanks are something else entirely. The Americans also suffered from poor gunnery today (i.e. some bad dice rolls) – if their gunnery had been better, this would have been a far costlier exercise.
... End Report...
So there you have it - fun game, reported to the site - that's all there is to it. I encourage everyone interested in Team Yankee at all to consider joining the campaign. It promises to be a lot of fun!